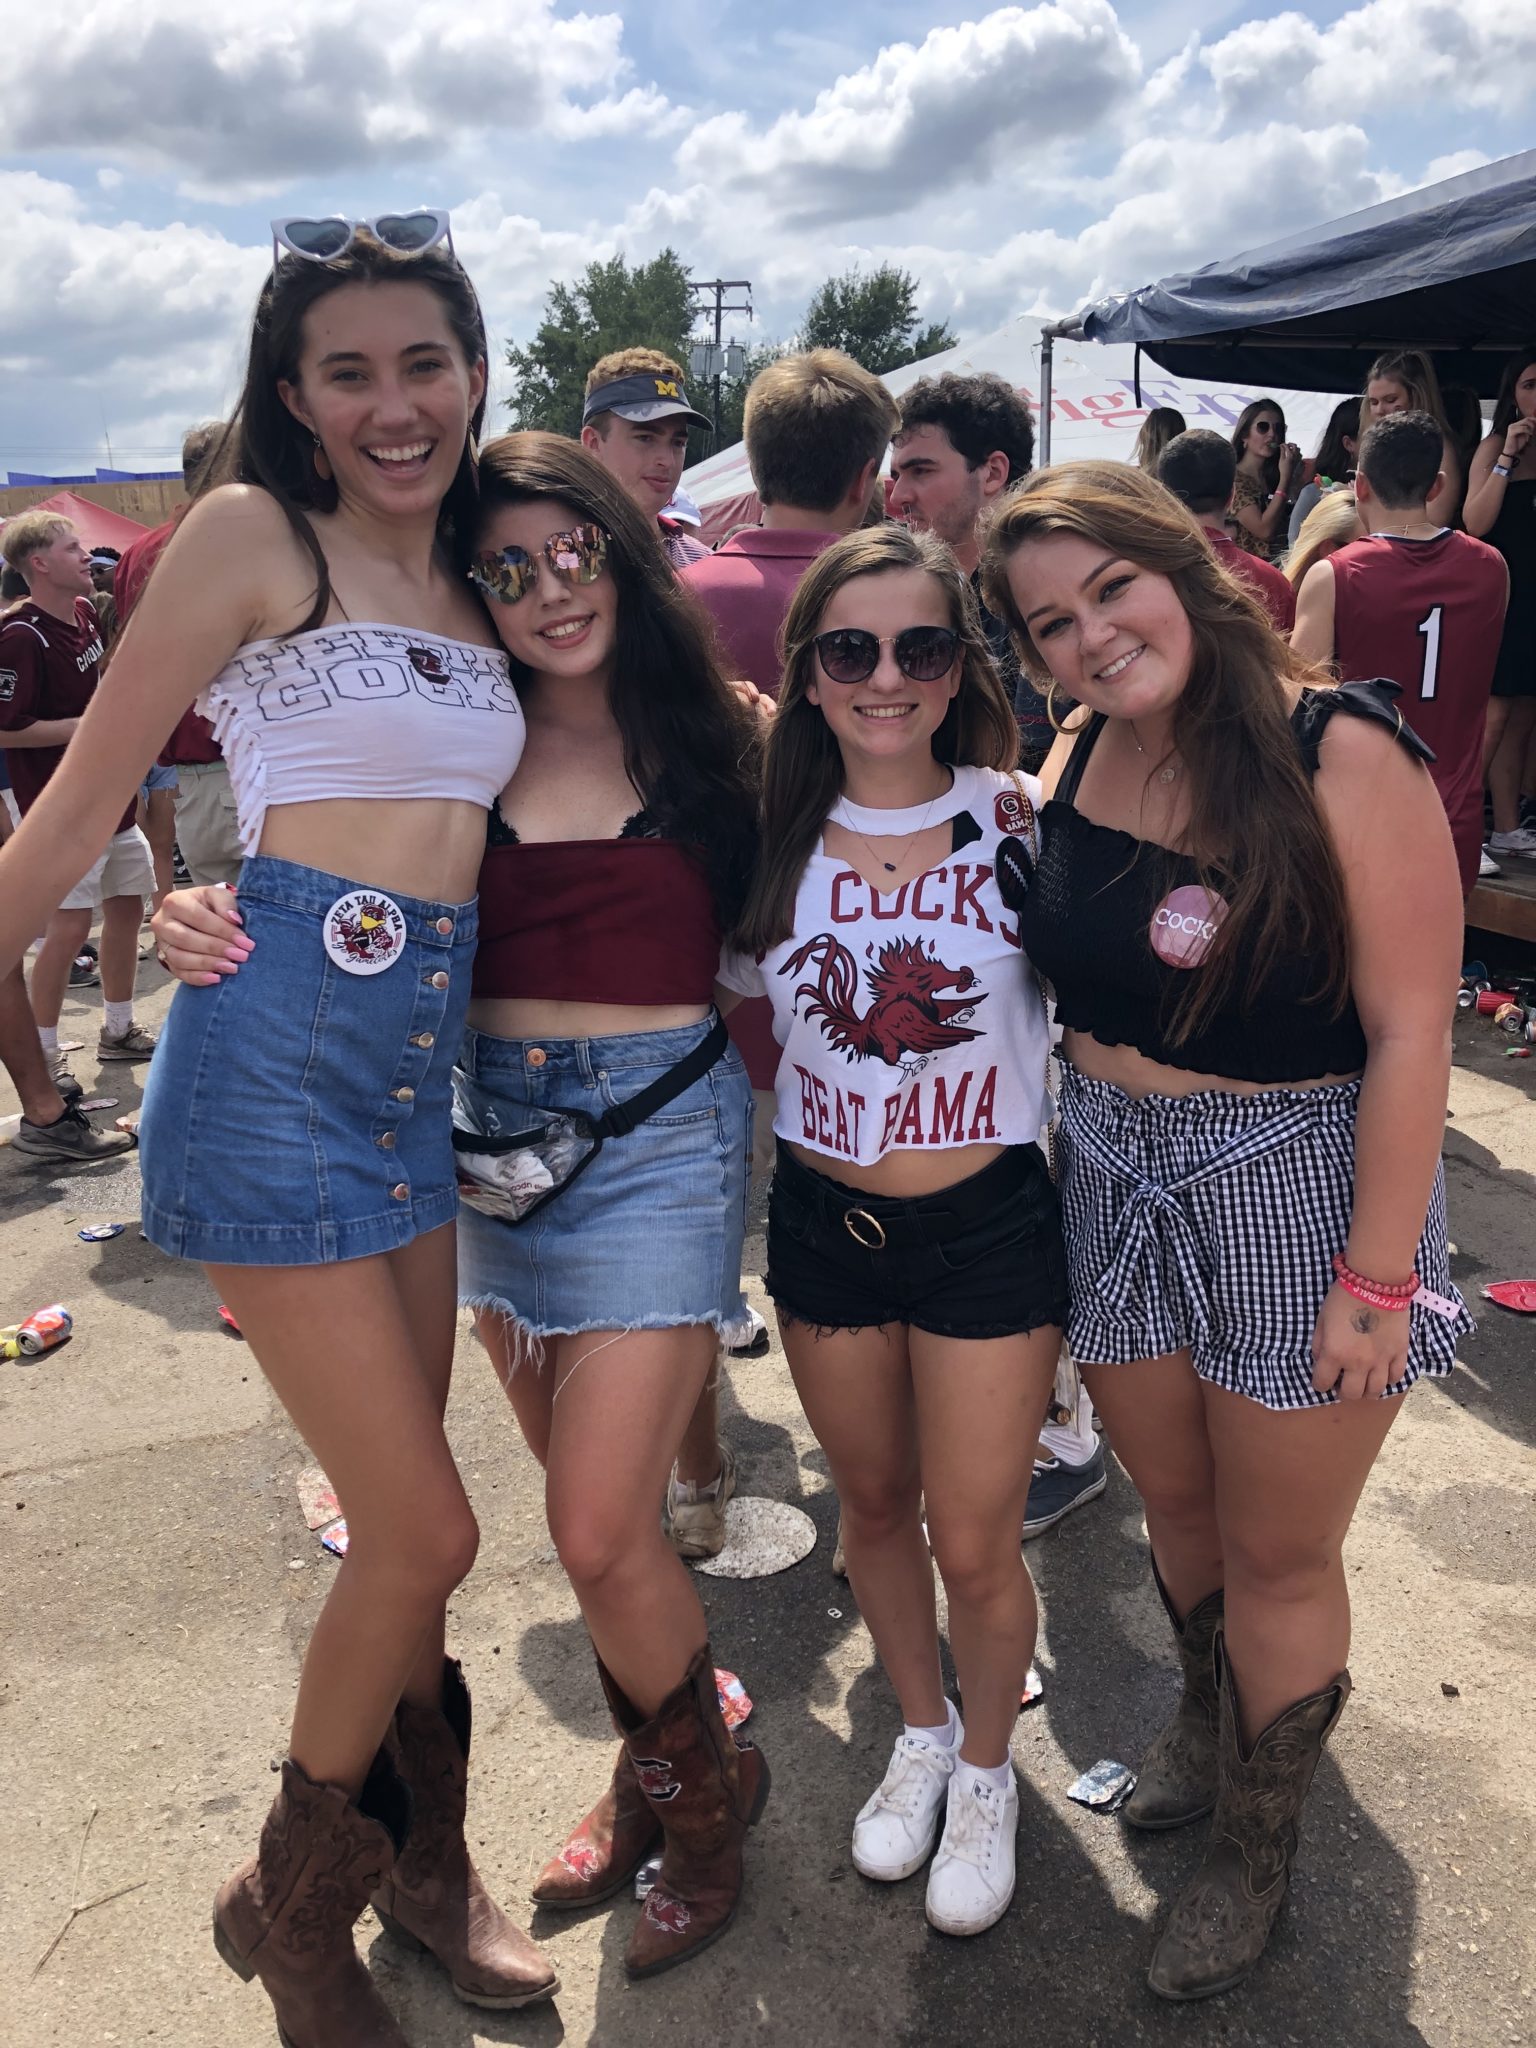
In this post, I will be walking you through the steps of how to make two different t-shirts look cute for college football game day!

Hey guys! Just some background knowledge for ya, in the picture above is me in the middle with the black shorts, surrounded by my friends I met during sorority rush. We are at the frat lots which is a tailgate here at USC hosted by fraternity boys. This was the Gamecocks first game of the regular season and it was against Alabama.
DIY Shirt #1
I didn’t know what I wanted to wear for this game, and I was handed a free t-shirt saying “go cocks beat bama” so I felt like I should wear it. But a bulky t-shirt that is too long and goes past my hips isn’t cute. So I decided to get crafty.

The first thing I wanted to do was crop the shirt so it wasn’t so long.

I decided to put my textbook to good use and use it as a ruler so that I was cutting the shirt in a straight line because I’m OCD like that (Thanks a lot mom).

This is what the shirt looked like cropped. I could stop there but I decided I wanted to take it one step further.

A recent trend is to cut a V-neck into the t-shirt but let the collar of the shirt remain intact. I’ve seen many girls do this in college and I think it looks really cute as long as you don’t cut it too low and show too much cleavage.
I suggest taking a pen and dotting lines where you want to cut so that you don’t just try to wing it and mess it up.

Here is the final product! It turned out really well. I only spent 10 minutes on it and got tons of compliments on it at the game.
DIY Shirt #2

The second type of shirt that you can easily make is a tube top. Again, this was a free t-shirt (best part about college, duh). It’s kind of hard to read because of the mirror but the shirt says “famously cocky”
The first thing I did was crop it from the bottom. My piece of advice to you is to cut small amounts at a time because you can’t ever add fabric back. Personally, I would like this top to be a bit longer because the t-shirt rolls up quite a bit when I start moving around.
Once I cut the bottom, then I cut the sleeves and sides off. I went in about an inch or so because you want this top to be some what snug not like a big tee.

Then, cut off the top.
Keep the front and back laying together and make sure they are aligned perfectly. On each side, you will cut the edges multiple times creating several rectangles.
The final step is to tie the rectangle cuts from the front of the shirt to the back of the shirt.
Make sure to double knot them so they aren’t coming undone later in the day.
That’s it for the two t-shirt designs! They are super easy and really cheap alternatives to what could be an expensive game day outfit. I hope you like it.
Sincerely, Meghan Ann
